
Common Causes of Color Variation in Plastic Products and How to Control Them
Common Causes of Color Variation in Plastic Products and How to Control Them
An industry technical guide for compounders, molders, and quality teams
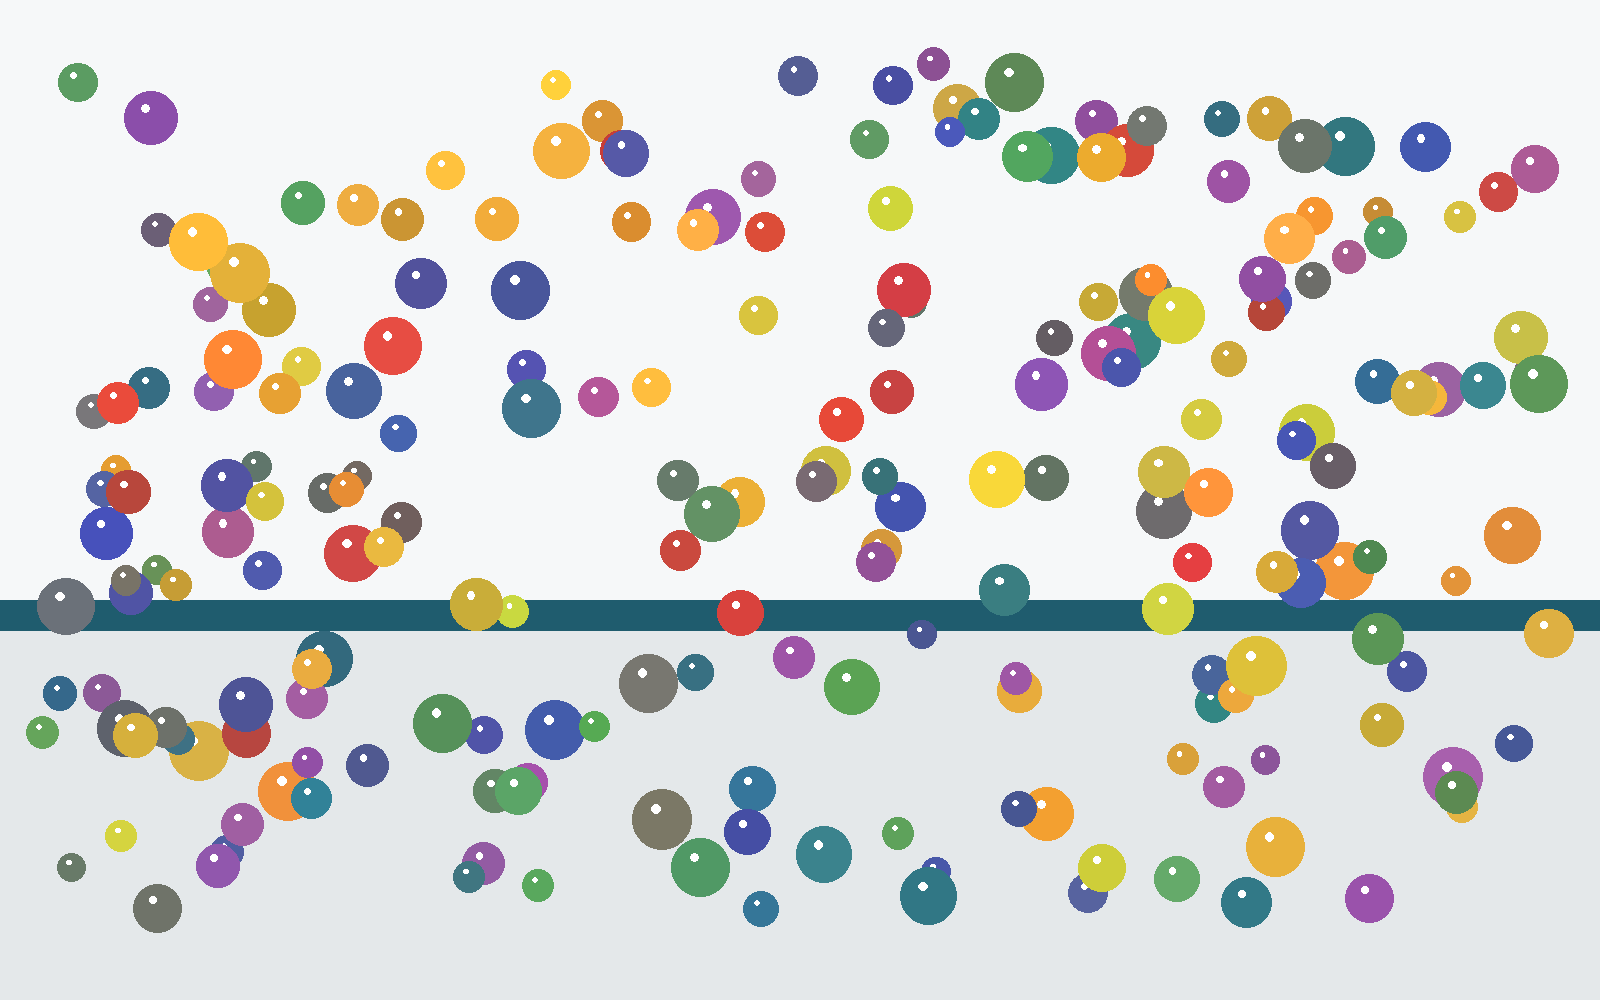
A production line or close up of colored plastic pellets and granules in various shades, such as a tray of color masterbatch pellets in different hues, or an injection molding machine producing colored plastic parts.
Color consistency is one of the most visible quality indicators in plastics manufacturing, and one of the most frequently disputed. A single batch of resin that comes out off spec in shade can lead to rejected shipments, stopped production lines, and disagreements between molders, compounders, and brand owners over who is responsible. Because color is judged instantly and subjectively by the human eye, even shifts in shade that are technically minor can be seen by customers as major quality failures.
Unlike dimensional or mechanical defects, color variation rarely comes from a single cause. It is usually the cumulative result of small deviations across raw materials, colorant systems, processing conditions, equipment condition, and measurement practice. Understanding where color drift originates, and how to measure it objectively, is the foundation of any effective color quality control program.
This article examines the technical causes of color variation in plastic products across the supply chain, from resin production to finished part inspection, and outlines the measurement principles and process controls manufacturers use to keep color within tolerance.
1. Why Color Consistency Matters in Plastic Manufacturing
Plastic parts are colored throughout their bulk, not just on the surface, so the entire volume of resin, not a coating, must be formulated and processed consistently to achieve a uniform appearance. This differs from painted metal or coated substrates, where color is a thin surface layer that can be reapplied if it comes out wrong. In plastics, color is generally locked in at the compounding or molding stage, so errors are far more costly to correct.
Color consistency affects manufacturers in several concrete ways:
-
Brand identity. Many brands specify exact color values, often using Pantone, RAL, or custom master standards, because color is a recognizable part of packaging, housings, and consumer products. Visible shade shifts between production runs can be read by customers as inconsistent quality, even when the material performs identically.
-
Assembly and matching requirements. Components that must match adjacent parts, such as an appliance housing and its trim, or an automotive interior panel and the fascia around it, require color values within a tight tolerance across different materials, molding processes, and sometimes different suppliers.
-
Regulatory and functional considerations. In some applications, including medical devices, food contact packaging, and automotive safety components, color also functions as an identification or coding system, so drift outside tolerance can create traceability or compliance issues.
-
Cost of rework. Parts that fall outside the approved color range are frequently scrapped, reworked, or sold as seconds at reduced value. Repeated rejections tied to color increase raw material waste and machine downtime.
Because the causes of color variation span materials science, processing engineering, and measurement science, an effective control strategy needs to address all three areas rather than treating color as a purely aesthetic afterthought.
2. How Color Is Perceived and Measured in Plastics
Before examining the causes of color variation, it helps to understand how color is objectively described and measured, since this vocabulary is used throughout troubleshooting and quality control.
CIELAB Color Space
Most plastics color work is expressed using the CIE 1976 L*a*b* (CIELAB) color space, in which:
-
L* represents lightness, from 0 (black) to 100 (white)
-
a* represents the red to green axis, with positive values toward red and negative values toward green
-
b* represents the yellow to blue axis, with positive values toward yellow and negative values toward blue
A sample's total color difference from a reference standard is commonly expressed as Delta E (ΔE), calculated from the differences in L*, a*, and b* values. ASTM D2244, the Standard Practice for Calculation of Color Tolerances and Color Differences from Instrumentally Measured Color Coordinates, defines how these tolerances and differences are calculated from instrumentally measured color coordinates, and lists several accepted difference formulas, including the CIELAB ΔE*ab formula, CMC, CIE94, DIN99, and CIEDE2000. The standard notes that where metamerism is suspected, meaning two samples match under one light source but differ under another, ASTM D4086 should be used to visually confirm the level of metamerism.
Illuminants and Observers
Color measurements are calculated for a specific combination of a standard illuminant (light source) and standard observer (a mathematical model of human color vision), because the same physical sample can appear different under different lighting. D65, which represents average daylight, is the most common illuminant used for plastics, generally paired with either the 2° or 10° standard observer. Published technical literature on polymer color measurement practice notes that colors are commonly reported in CIELAB values under the D65/10° condition, and recommends that the instrument, standards, and ambient temperature and humidity be reported alongside the color data.
Instrument Geometry
Color instruments use different measurement geometries, such as diffuse eight degree (d/8°), 45°/0°, or multi angle setups, and the geometry affects how surface gloss and texture influence the reading. Because geometry, aperture size, and sample presentation all affect the result, comparisons between two measurements are only valid when the measurement conditions match. Recommended practice for plastic pellet samples is to fill a clear glass cell of a minimum 50 mm depth, with recommended measurement apertures of around 25 mm for d/0 or 0/d instruments and 31 to 52 mm for 45/0 instruments.
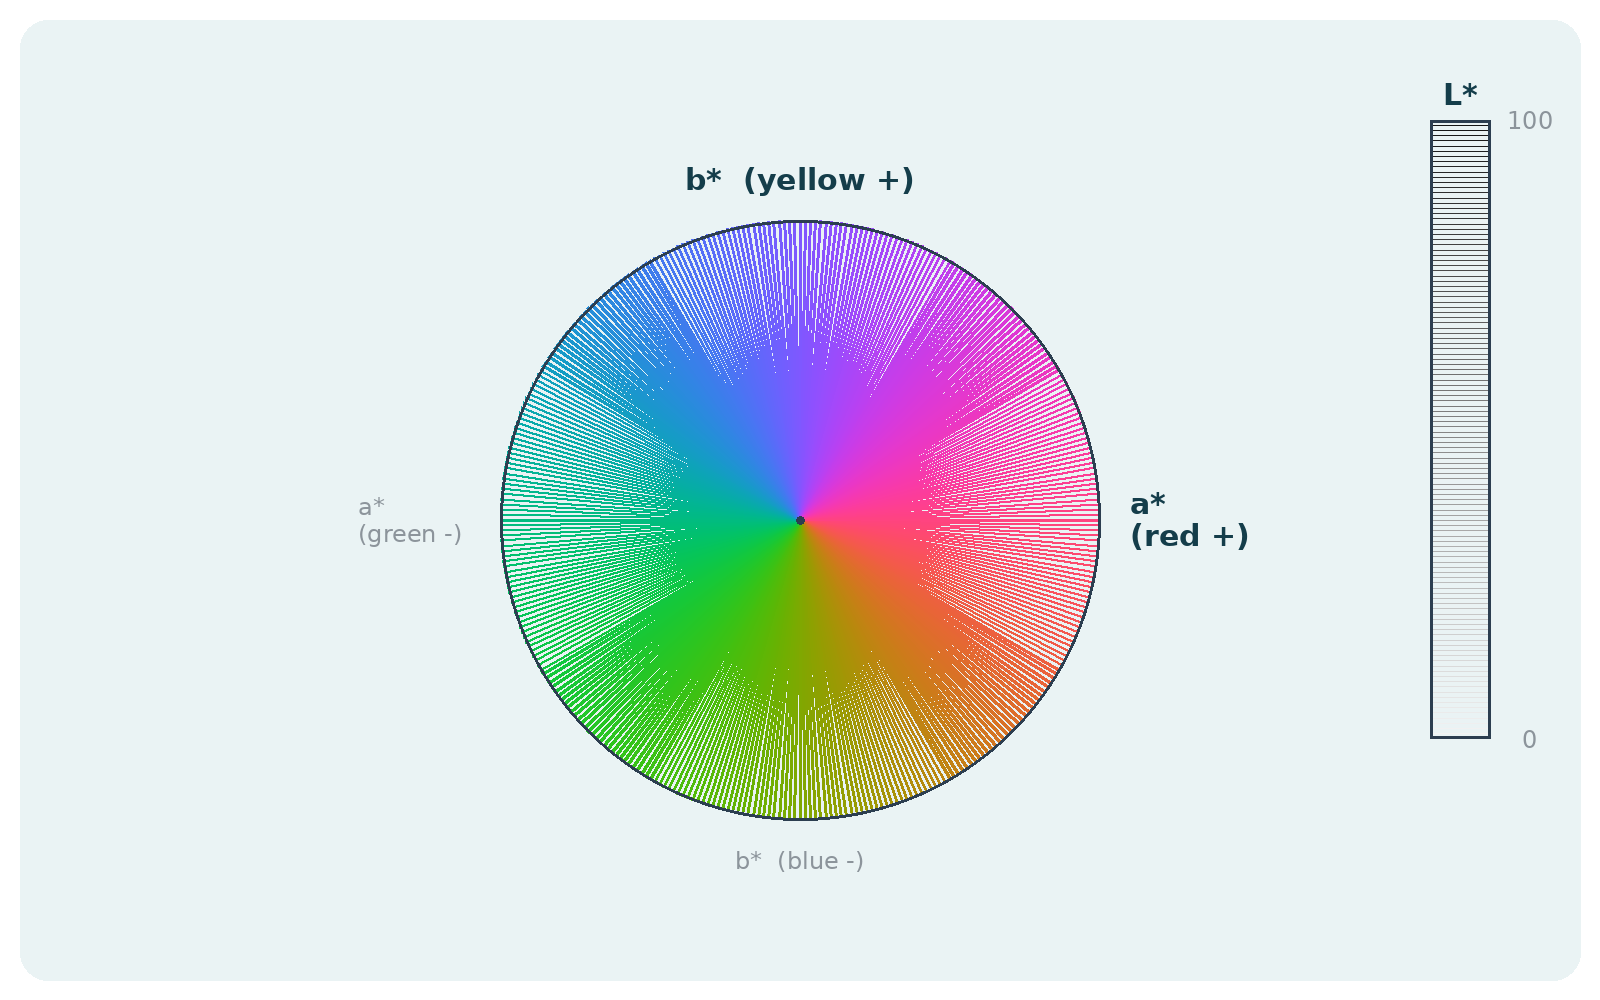
Diagram illustrating the CIELAB color space, a 3D or 2D diagram showing the L*, a*, b* axes with color gradients.
With this measurement framework in mind, the following sections walk through where color variation actually originates, starting upstream at the raw material stage and moving through processing, equipment, environment, and measurement practice.
3. Raw Material Related Causes of Color Variation
3.1 Resin Batch to Batch Variation
Polymer resins are not perfectly uniform between production lots. Differences in the resin manufacturer's process, including catalyst residues, molecular weight distribution, additive packages such as stabilizers, antioxidants, or slip agents, and the base resin's inherent yellowness or haze, can all subtly change how a colorant appears once it is mixed into the polymer. Because pigments and dyes are viewed through the polymer matrix, any change in the base resin's optical clarity, base color, or crystallinity can shift the final part's perceived shade, even when the colorant dosage stays the same.
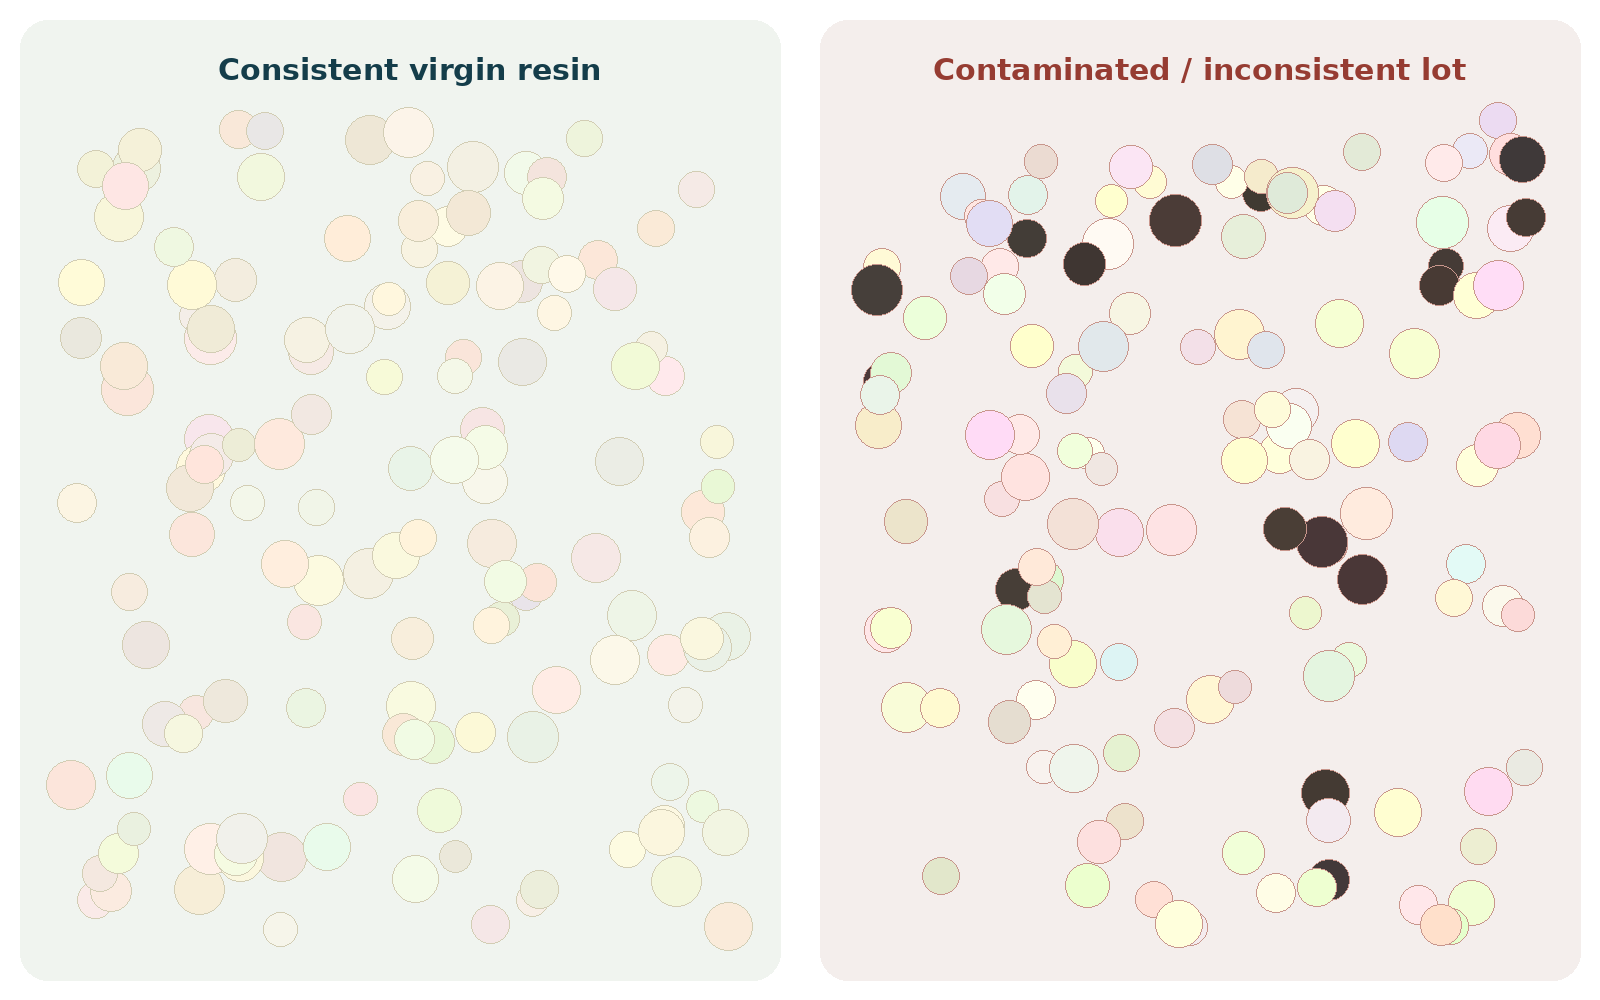
Photo of raw plastic resin pellets and granules, ideally showing a comparison of clean virgin pellets next to a batch with visible impurities or slight color variation.
3.2 Use of Recycled or Regrind Material
Many manufacturers reincorporate regrind (in house scrap) or recycled resin, sourced either after consumer use or from other industrial processes, into their production for cost and sustainability reasons. Recycled streams are inherently more variable than virgin resin because they can include mixed polymer contamination, residual pigment from prior coloring, and degradation products from repeated exposure to heat. A high proportion of recycled material, combined with untreated additives, can chemically react with colorants and introduce unpredictable color shifts. Even consistent recycled content requires its own color characterization, since changes in the regrind ratio from one production run to the next will change the final part color if not compensated for.
3.3 Moisture Content in Hygroscopic Resins
Certain engineering polymers, including nylon (PA), polycarbonate (PC), and PET, are hygroscopic, meaning they absorb ambient moisture. If these resins are not dried to the correct moisture specification before processing, excess moisture can cause hydrolytic degradation and bubble formation during melt processing, which affects not only mechanical properties but also how colorants disperse, resulting in color differences and visible spots. Because humidity in a plant can vary with the seasons, moisture related color drift can appear as an unexplained shift that tracks with weather rather than any change in formulation.
3.4 Impurities and Contamination
Dust, foreign polymer fragments, incompletely purged material, or contamination introduced during storage and transport can all appear as visible specks or localized discoloration in a finished part. Even trace levels of contamination are often visually obvious in light or pastel colors, where the contrast against a pale base is much higher than in dark or saturated shades.
4. Colorant and Masterbatch Related Causes
Because most plastic parts are colored using masterbatches, which are concentrated pigment or dye dispersed in a carrier resin and later diluted into natural resin at a defined ratio, the masterbatch itself is one of the most common sources of color variation.
4.1 Pigment Dispersion Quality
Pigments must be spread evenly throughout the resin to achieve consistent coloration; poor dispersion is a leading cause of streaking and shade variation. Pigments generally do not disperse easily into resin on their own, and inadequate dispersion can cause not only inconsistent color but also physical defects such as specking or streaking, which makes matching color accurately more difficult. Well made masterbatches use dispersing aids and appropriate mixing equipment specifically to overcome this tendency to clump together.
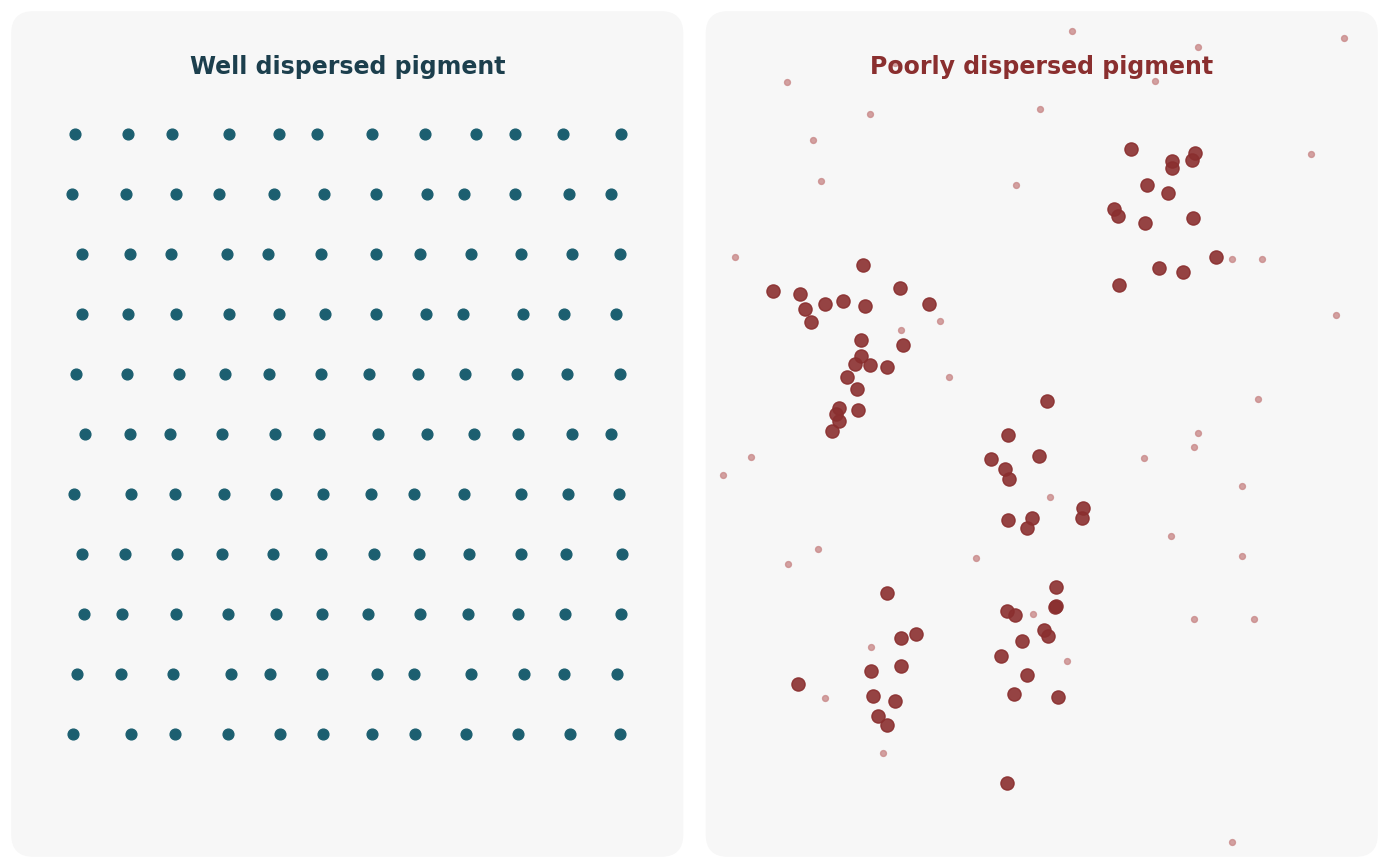
Close up comparison photo showing well dispersed versus poorly dispersed pigment in plastic, with visible streaking or specks in a sample.
4.2 Masterbatch Batch to Batch Consistency
The stability and tinting strength of a color masterbatch has a direct effect on the color of the finished product; significant variation from lot to lot, poor dispersion, or impurities in the masterbatch readily produce color spots and localized color differences in the molded part. Reputable compounders control this through incoming pigment inspection, standardized production procedures, and outgoing quality checks against approved color standards before the masterbatch ships.
4.3 Letdown Ratio and Dosing Accuracy
The final part color depends on the precise ratio between the base resin and the colorant, so insufficient feeding accuracy or weighing precision during letdown directly affects mixing uniformity and can cause visible color differences from shot to shot or across a production run. Gravimetric (weight based) dosing systems are generally more accurate and repeatable than volumetric dosing, because volumetric feeders can be affected by variation in bulk density, static charge, and pellet size differences in the colorant carrier.
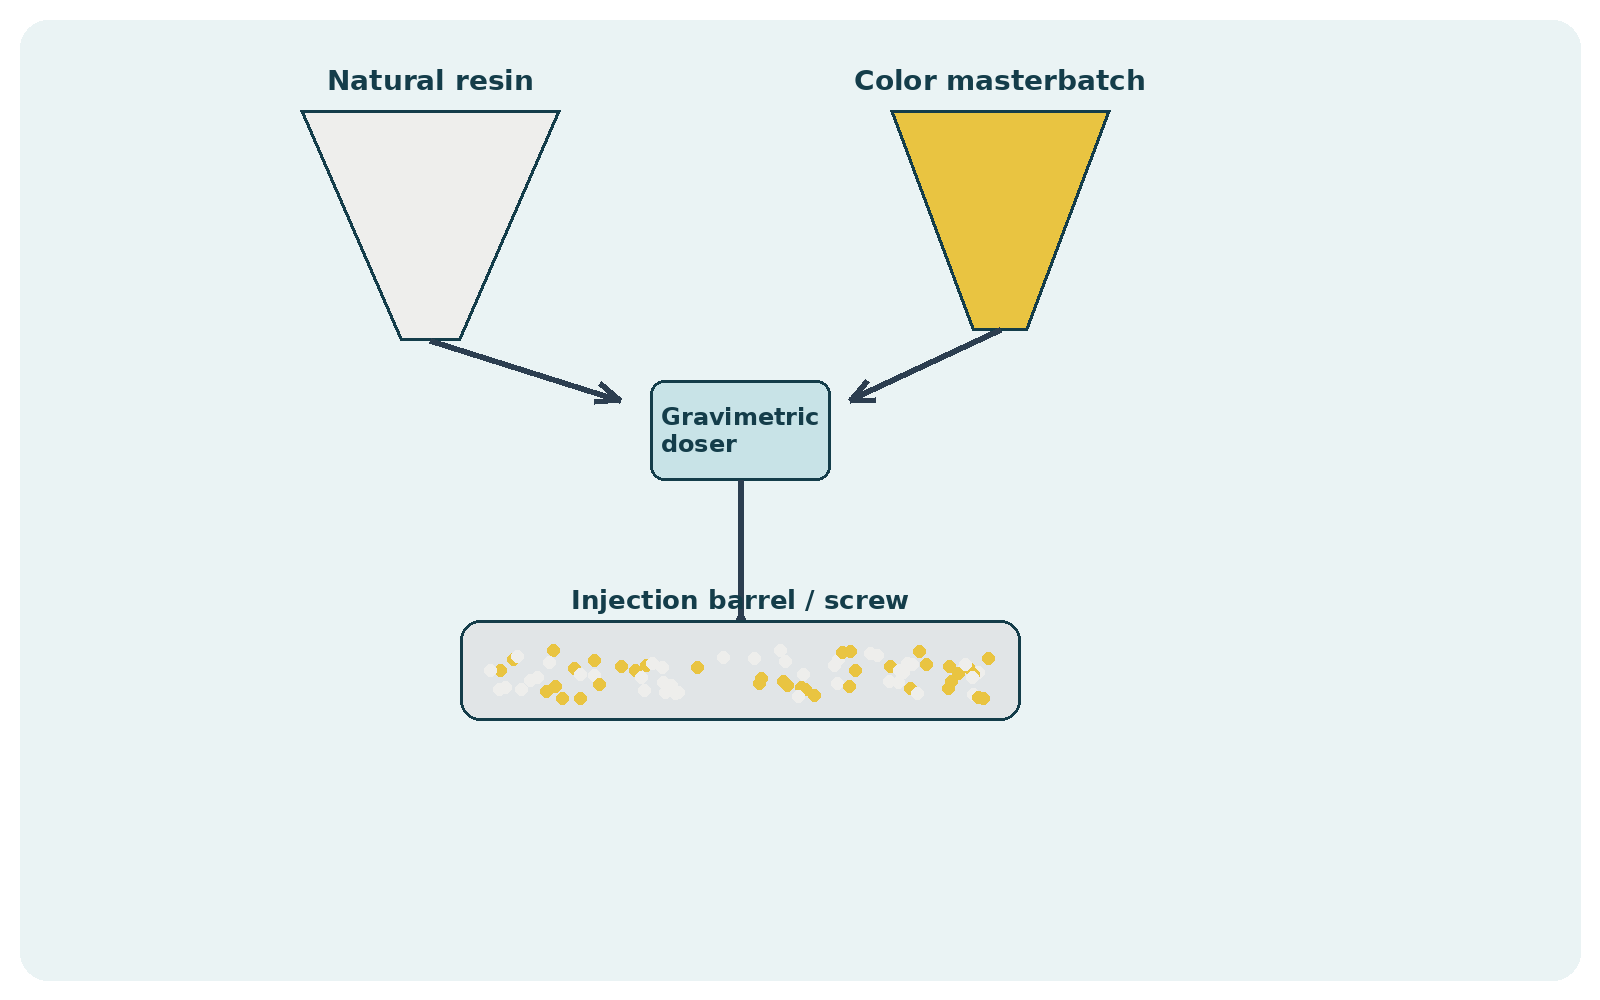
Photo or illustration of the masterbatch letdown and dosing process, such as a gravimetric doser feeding colored masterbatch pellets into a hopper alongside natural resin pellets.
4.4 Pigment and Resin Compatibility
Not every pigment is compatible with every resin system or every processing temperature. Some organic pigments are prone to breaking down under heat at typical processing temperatures for high temperature engineering polymers, causing them to shift shade or fade during molding. Certain pigments can also migrate or rise to the surface of a part over time, or react chemically with specific additive packages, stabilizers, or flame retardants in the base resin, producing unexpected color shifts that were not present in an initial trial. Selecting colorants requires screening based on the polymer's processing conditions and end use requirements, particularly for heat resistance and how well the pigment disperses.
5. Processing Related Causes of Color Variation
Even with a correctly formulated resin and masterbatch, processing conditions on the molding or extrusion line can significantly alter the final color of a part.
5.1 Melt Temperature Fluctuations
Barrel temperature has a direct effect on how uniformly the colorant disperses and on pigment stability. Excessively high melt temperatures can cause thermal breakdown of certain pigments or the resin itself, producing yellowing, darkening, or a shift in hue; temperatures that are too low can prevent adequate melting and mixing, leaving pigment poorly dispersed. Damage to a heating band or loss of control in a barrel's temperature zone can cause severe temperature fluctuations, leading to color variation through poor and uneven plasticizing of the melt.
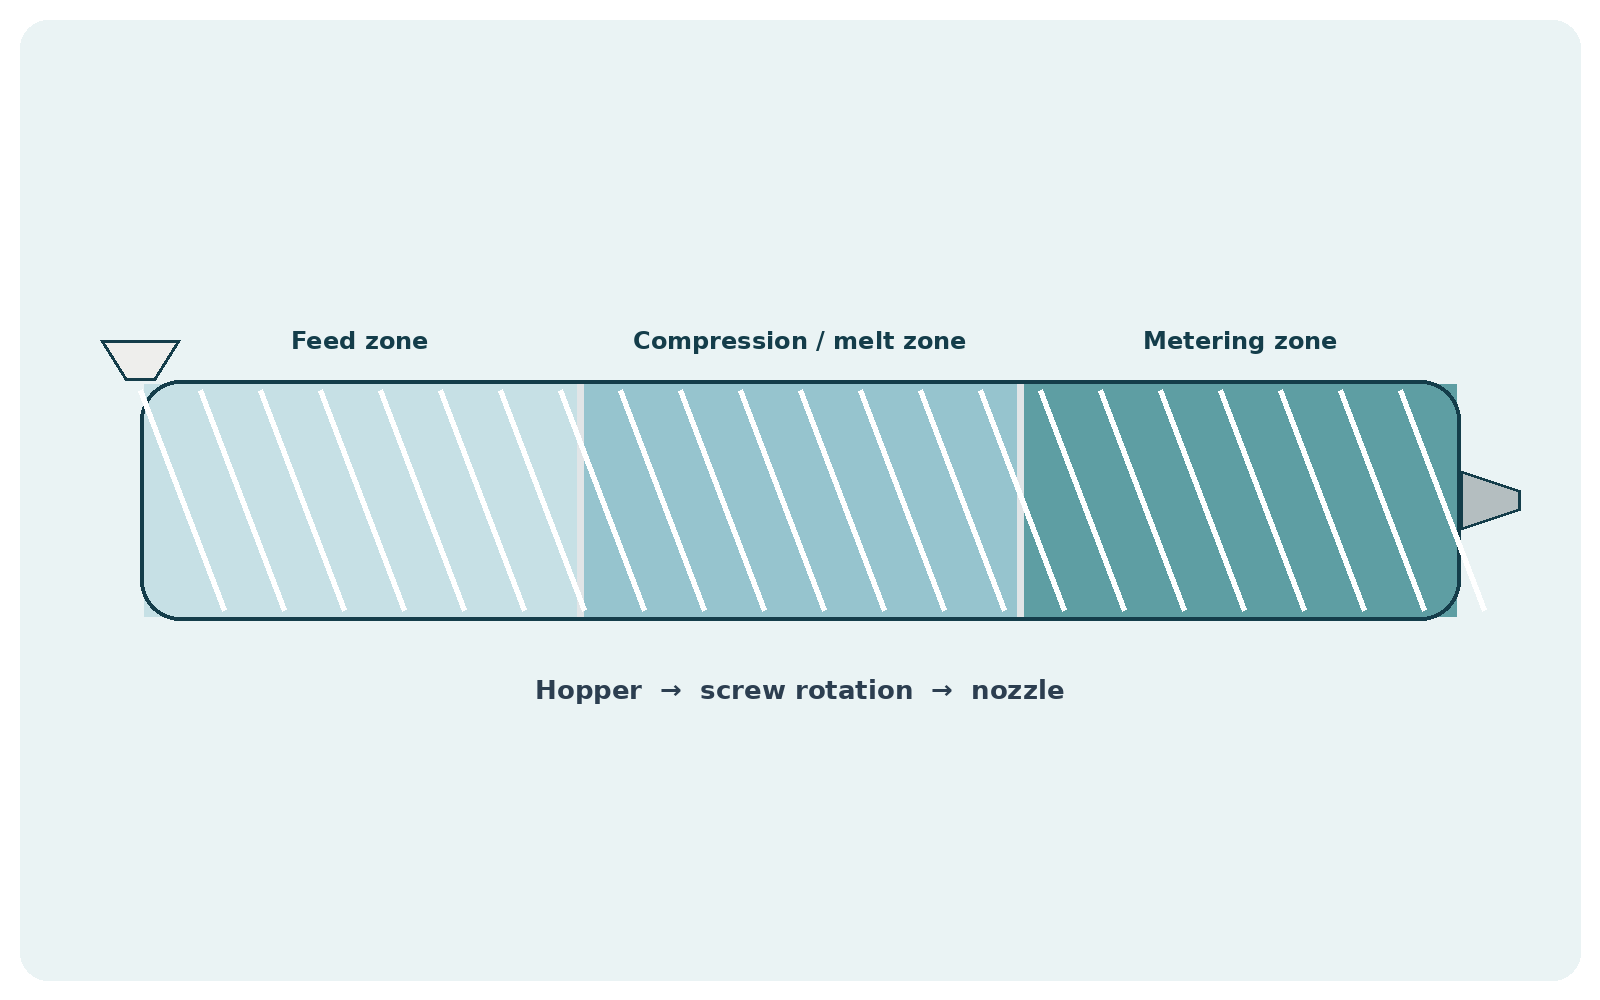
Photo or diagram of an injection molding machine barrel and screw cross section, illustrating the melting and mixing zones.
5.2 Shear, Screw Speed, and Back Pressure
High injection speeds and excessive back pressure increase shear on the melt, which can generate localized frictional heating well above the nominal barrel setpoint. This added shear heat can cause thermal breakdown of heat sensitive pigments even when the barrel temperature itself appears to be within specification. Conversely, the mechanical energy input from screw speed also affects how thoroughly the pigment disperses into the polymer matrix, so changes to screw speed can alter the final appearance even when the formulation stays the same.
5.3 Residence Time in the Barrel
The length of time the melt spends in the barrel, influenced by shot size, cycle time, and machine size relative to the part, affects how much heat exposure the colorant receives. Extended residence time, particularly on machines that are oversized for the part being run, increases the risk of thermal breakdown and color drift, especially for heat sensitive pigments or resins.
5.4 Injection Pressure, Holding Pressure, and Fill Speed
Variations in injection and holding pressure affect how the melt flows and can change how colorant is distributed directionally within the part, producing localized differences in color depth, an effect that is especially noticeable in thin walled or large volume parts. Unstable injection speeds can also cause uneven mold filling, with colorant response to flow speed producing visible flow marks or color banding on the finished part surface.
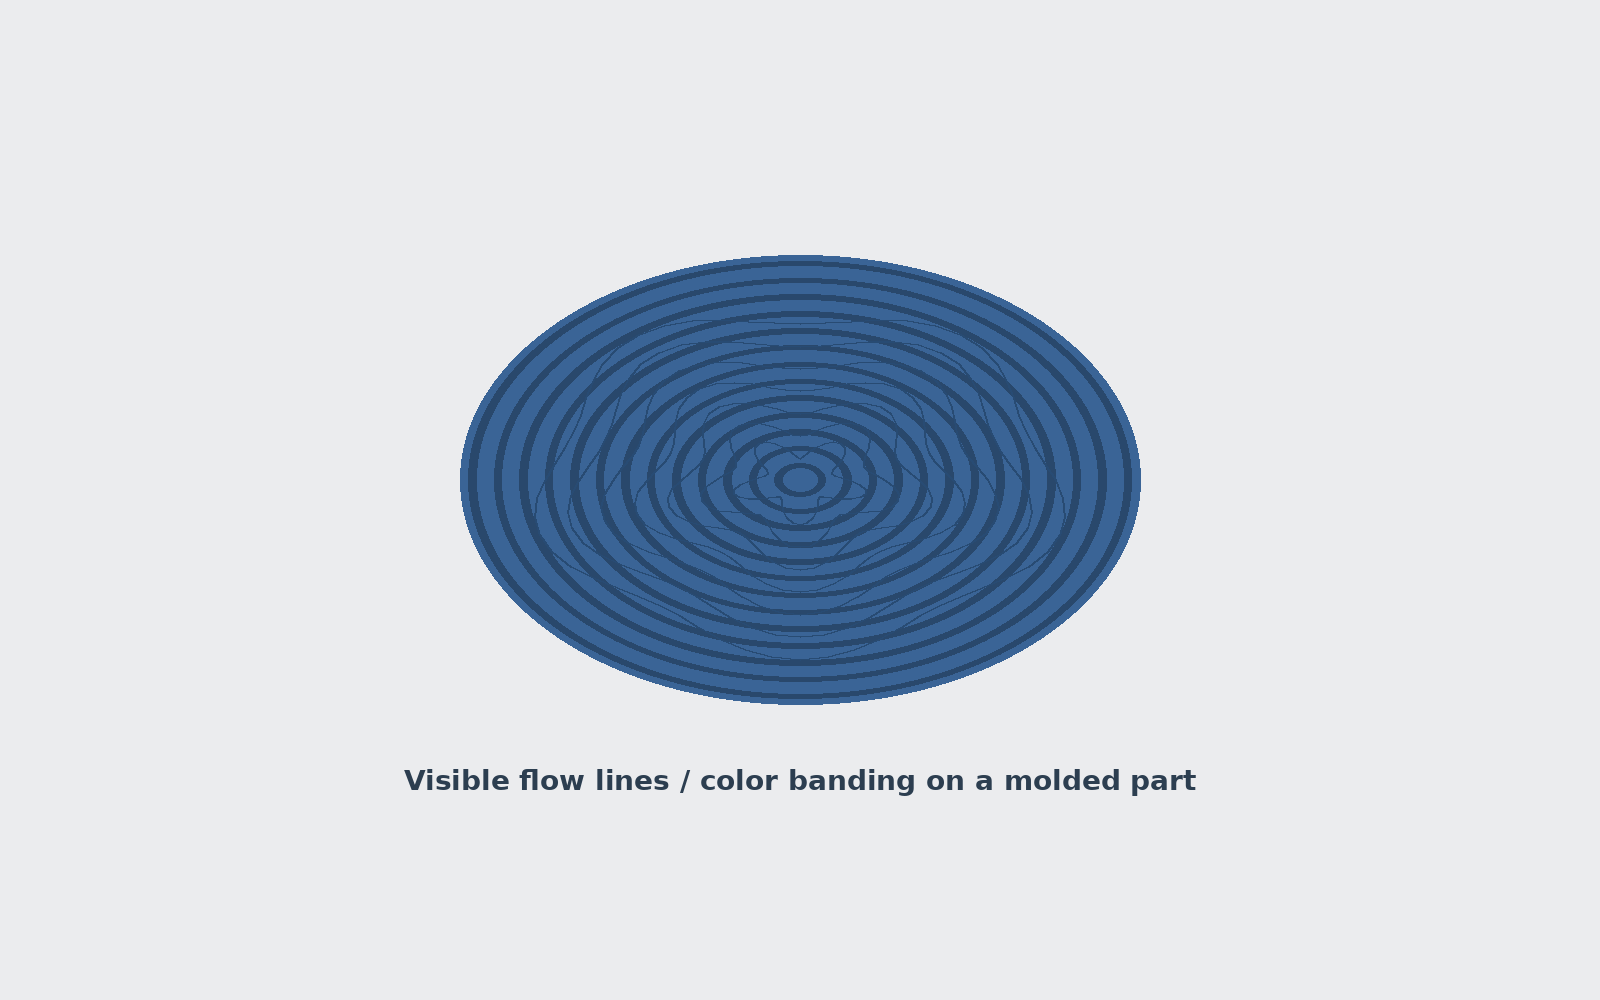
Photo of a molded plastic part showing visible flow marks, streaking, or color banding as a real world defect example.
5.5 Cooling Rate and Crystallinity
For semi crystalline polymers such as polypropylene, polyethylene, and nylon, the cooling rate influences the degree and structure of crystallinity in the finished part. Because crystalline and amorphous regions scatter and transmit light differently, differences in cooling rate between the surface and core of a part, or between a thick and thin section of the same part, can create visible variation in opacity, gloss, and apparent shade, independent of any change in pigment loading.
5.6 Poor Plasticizing and Mixing
Inadequate melting or mixing, where the polymer melt does not fuse into a uniform mass, prevents even distribution of colorant throughout the material and results in visibly uneven coloration across the part, sometimes appearing as streaks or mottled patches. This is often linked to worn screw and barrel components, an incorrect screw design for the resin and colorant system, or a mismatch between machine size and shot volume.
6. Environmental and Post Production Causes
Not all color variation originates during molding. Plastic products can also shift color after they leave the production line.
6.1 UV Exposure and Photodegradation
Ultraviolet light can degrade certain pigments and the polymer matrix itself, causing fading, yellowing, or chalking over time. This is a particular concern for outdoor products, automotive exterior and interior components, and packaging exposed to display lighting or sunlight. Because different pigments and resins have different resistance to UV, two parts that match perfectly when new can diverge significantly in color after weeks or months of light exposure if their colorant systems age at different rates.
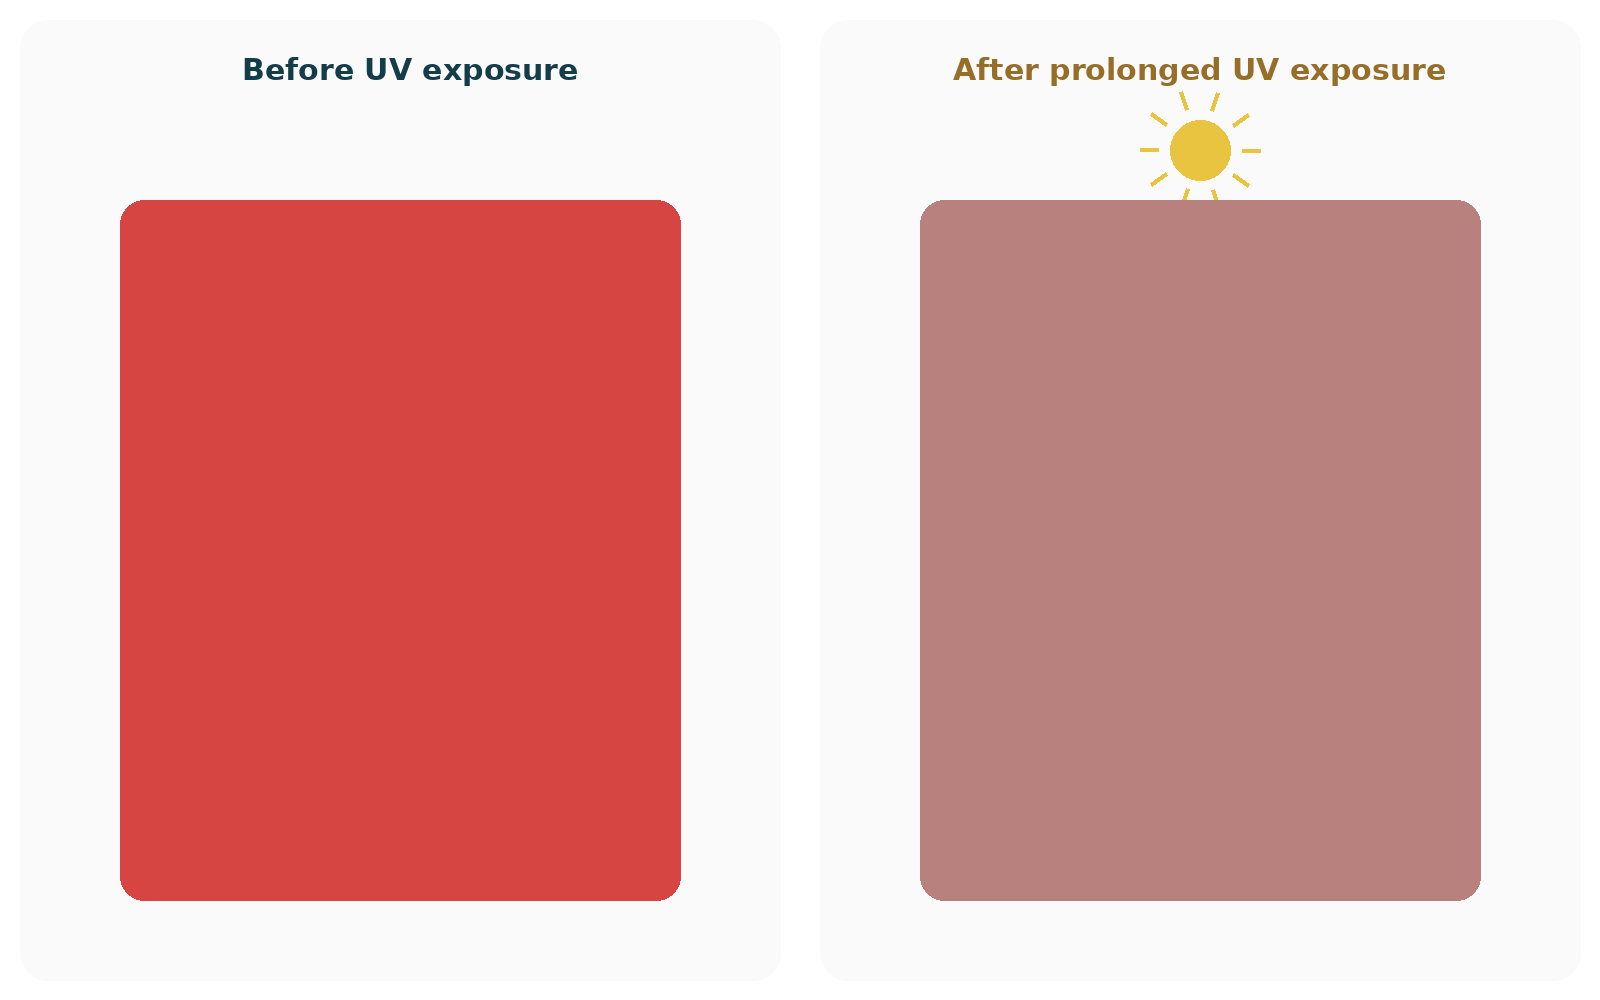
Side by side comparison photo showing a plastic part before and after UV or weathering exposure, illustrating fading or yellowing.
6.2 Thermal Aging and Oxidation
Extended exposure to elevated temperatures, whether during storage, transport, or in service use near heat sources, can cause oxidative breakdown of the polymer and colorants, leading to yellowing or darkening. This is especially relevant for light colored and white products, where even slight yellowing is highly visible against the pale base shade.
6.3 Chemical Exposure
Contact with certain chemicals, cleaning agents, oils, or plasticizers migrating from adjacent materials can alter the surface appearance of a plastic part, sometimes producing localized staining or discoloration that was not present at the time of molding.
6.4 Humidity and Storage Conditions
Storing raw materials or finished parts in environments with fluctuating humidity and temperature can affect both the material's physical properties and, over time, its color stability, which is why controlled storage conditions are recommended for both incoming resin and colorant systems, not just for the finished product.
Manufacturers who need to characterize how a colorant system will perform over its service life typically use accelerated weathering testing, for example xenon arc or fluorescent UV exposure chambers run to established test methods, to predict long term color stability before committing to full scale production.
7. How to Control and Prevent Color Variation: A Systematic Approach
Because color variation can originate at any point from resin production to final inspection, effective control requires a structured approach rather than isolated fixes. The following practices are widely used across compounding and molding operations.
7.1 Incoming Material Inspection
Testing resin lots and masterbatch or colorant shipments against approved reference standards before they enter production allows problems to be caught before they reach the line. This typically involves molding or extruding a color plaque or chip from the incoming material and comparing it instrumentally to the approved standard, rather than relying on a visual check alone. Spot color testing on masterbatches before they enter the factory, and again before each batch production run, is recommended specifically because masterbatch quality control is frequently outside the molder's direct process control.
7.2 Standardized Processing Windows
Rather than optimizing a color match at a single machine setting, establishing a controlled processing window, with defined ranges for barrel temperature, screw speed, back pressure, and residence time, helps ensure the color result is repeatable across the normal variation encountered in day to day production, not just under ideal trial conditions. When adjusting process parameters for reasons unrelated to color, it is good practice to avoid changing plasticizing conditions unnecessarily, and to avoid high injection speeds and back pressures that generate excessive shear and risk thermal breakdown of colorants.
7.3 Gravimetric Dosing and Mixing Control
Using gravimetric (weight based) rather than volumetric dosing equipment for masterbatch letdown improves repeatability, since it is less sensitive to bulk density and pellet size variation. Thorough premixing of masterbatch with base resin before it enters the feed throat, along with adequate mixing residence time in the screw, supports even pigment distribution throughout the melt.
7.4 Moisture and Environmental Control
For hygroscopic resins, installing drying hoppers with dew point monitoring and maintaining controlled ambient humidity in the molding area reduces the risk of moisture related dispersion and hydrolysis issues. Logging temperature and humidity near the molding machine, with alerts when conditions drift outside a specified range, allows environmental drift to be caught before it affects color.
7.5 Equipment Maintenance and Changeover Procedures
Scheduled inspection and replacement of worn screws, heater bands, and thermocouples helps prevent equipment driven color drift. Standardized purging procedures during color changeovers, including the use of appropriate purging compounds and visual confirmation that the barrel is clear of residual color before resuming production, reduce contamination related streaking and off spec startup scrap.
7.6 Approved Color Standards and Reference Samples
Maintaining a physical approved color standard, typically a molded plaque or chip that represents the target color, gives production and quality teams a consistent physical reference for comparison, separate from a digital color specification alone. New production is compared against both the approved standard and against masterbatch or material used in previous runs, which helps catch gradual drift that might not trigger a single reading outside tolerance.
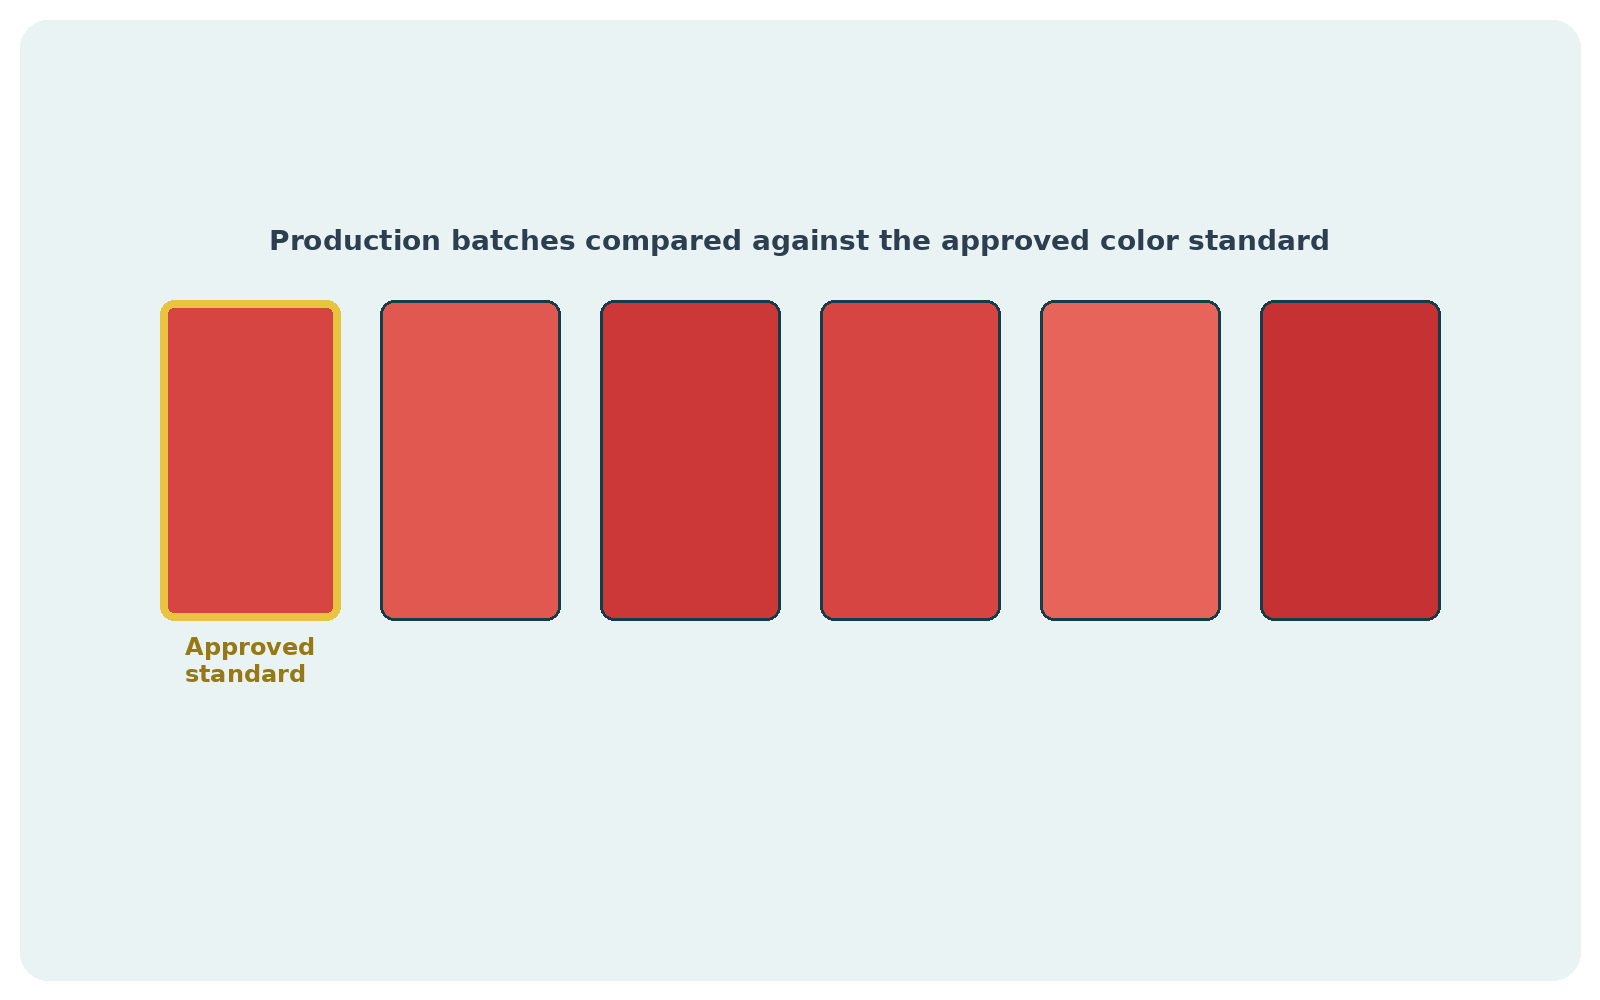
Photo of a quality control technician comparing a molded color plaque or chip against a reference standard, or a rack of color reference plaques.
7.7 In Process and Final Inspection with Objective Instruments
Replacing purely visual color inspection with instrumental measurement, using a calibrated spectrophotometer or colorimeter under consistent, documented measurement conditions, removes much of the subjectivity and lighting dependence inherent in visual color judgment. Regular measurement at defined intervals during a production run, rather than only at the start and end, helps detect gradual drift caused by hopper depletion, temperature creep, or masterbatch settling.
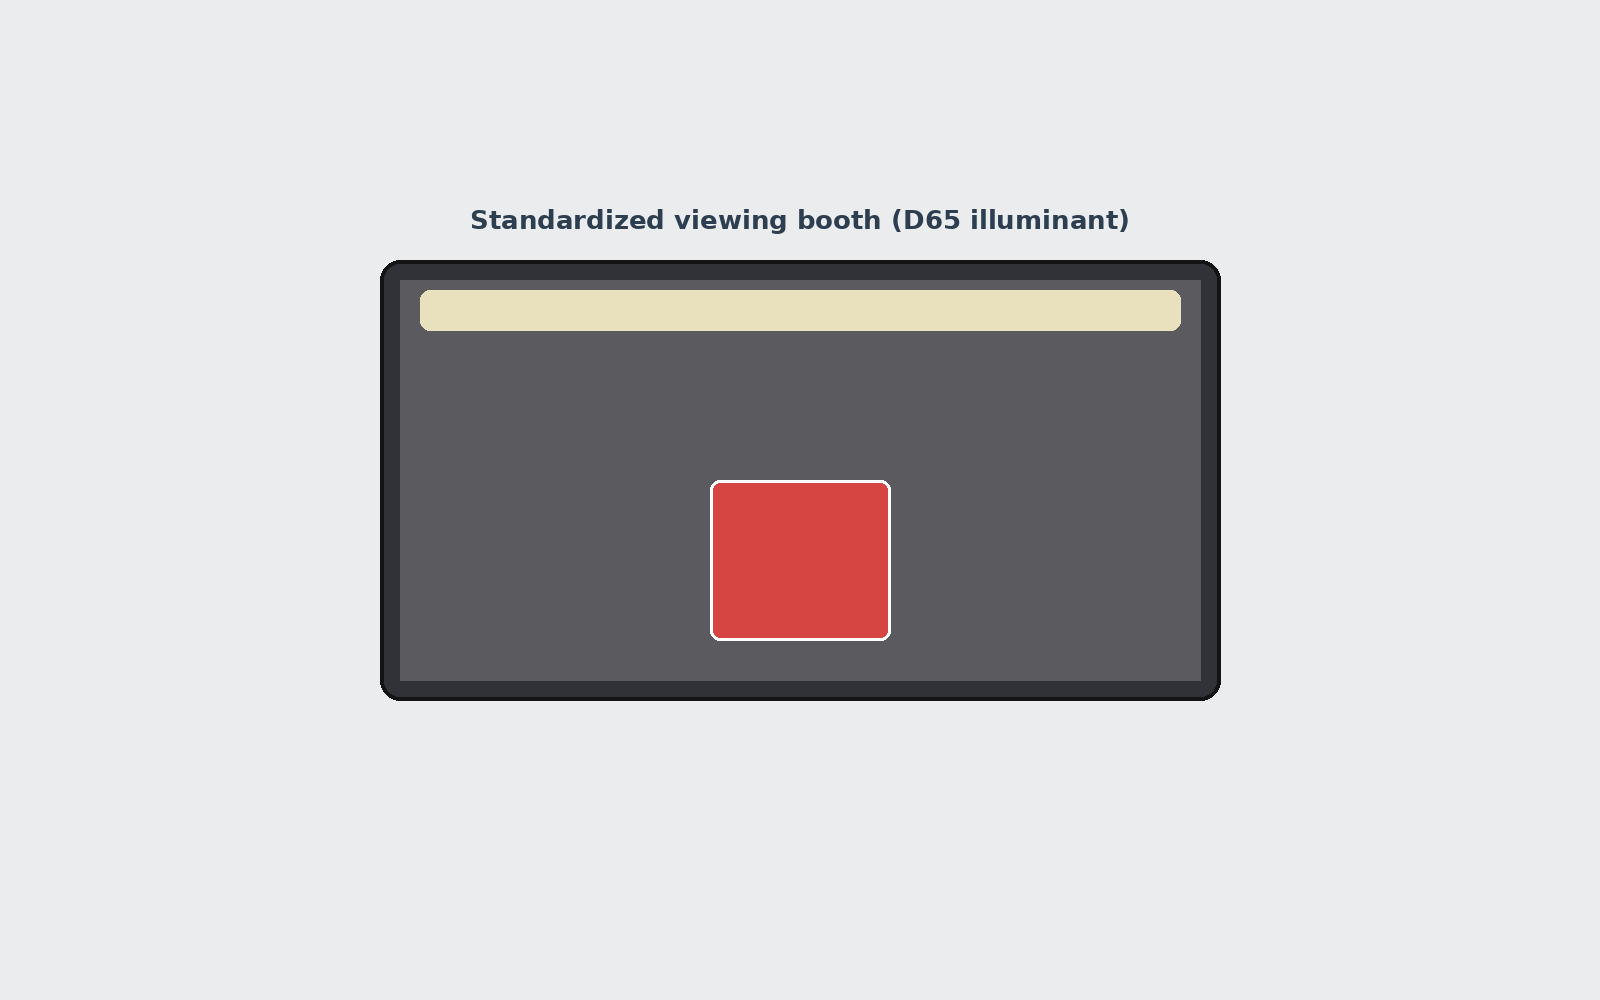
Photo of a color quality control lab setup, such as a light booth with standardized illuminants for visual color comparison.
7.8 Operator Training
Because so many of the process variables that affect color, including barrel temperature, screw speed, back pressure, purging technique, and dosing setup, are set and monitored by machine operators, training personnel to understand how these settings affect color, not just part dimensions or cycle time, is a practical way to prevent color problems from being introduced during routine process adjustments.
8. Building a Color Quality Control Program
Bringing the causes and controls discussed above together, a practical color quality control program for a plastics manufacturing operation typically includes:
-
A documented color specification for each product, including the target CIELAB values (or equivalent), the illuminant and observer condition, the color difference formula, and the agreed tolerance.
-
An approved physical standard (molded plaque or production part) stored under controlled conditions and used as the master reference for comparison.
-
Incoming inspection procedures for resin and colorant or masterbatch lots, using instrumental measurement rather than visual judgment alone.
-
Defined and monitored processing windows, with process parameters (temperature, screw speed, back pressure, cycle time) documented and tied to the approved color result.
-
Calibrated measurement instruments, maintained on a defined calibration schedule against certified reference tiles, with measurement conditions (aperture, geometry, illuminant, observer) standardized across the facility.
-
In process sampling, measuring color at defined intervals throughout a production run rather than only at setup.
-
Documented deviation and corrective action procedures for when a measurement falls outside tolerance, including root cause investigation across the material, process, equipment, and measurement categories described in this article.
-
Operator and technician training on both the technical causes of color variation and the correct use of measurement instruments.
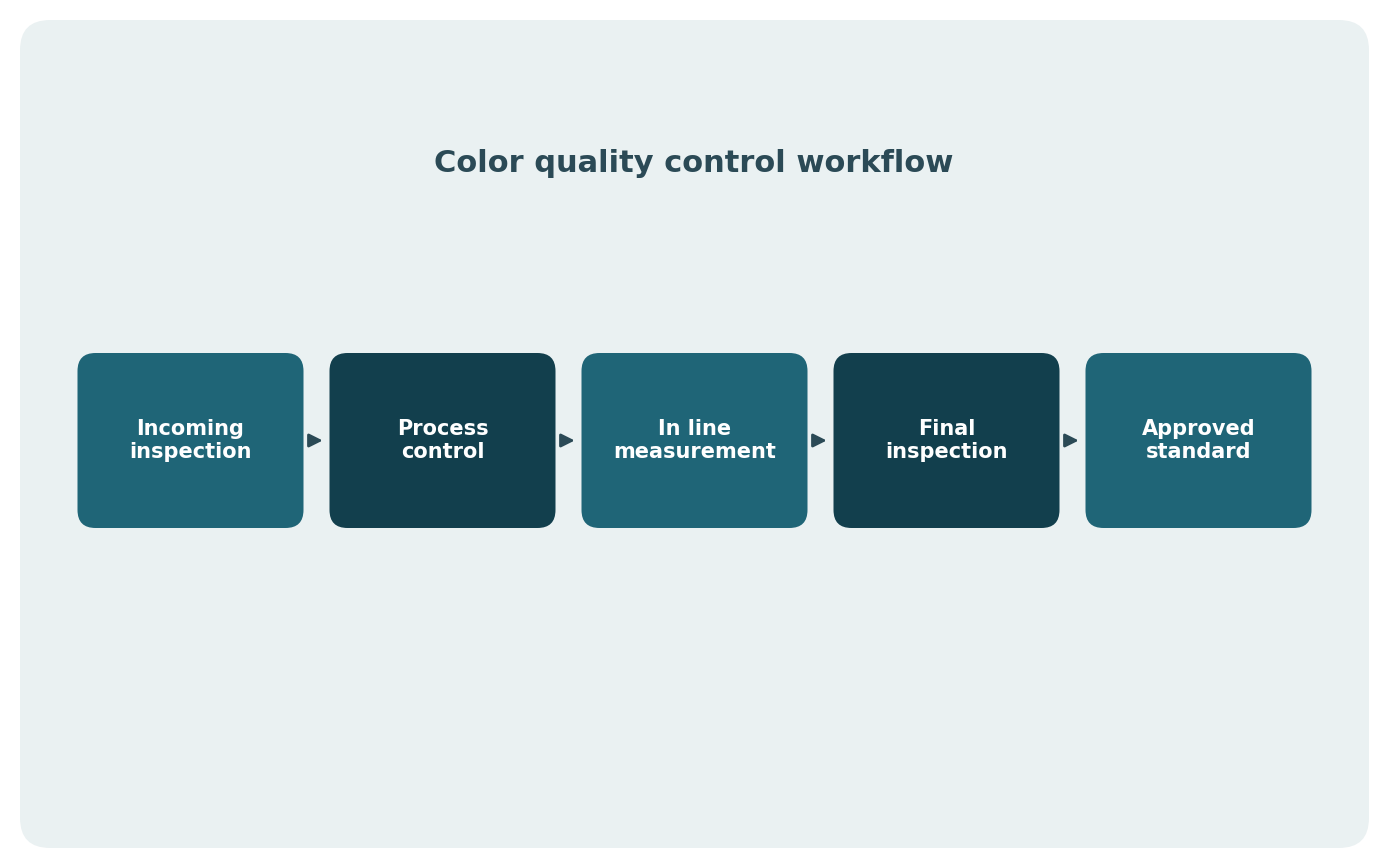
Flowchart style graphic summarizing the color QC workflow: incoming inspection, process control, in line measurement, final inspection, approved standard comparison.
This kind of structured program shifts color control from a reactive, visual inspection activity into a measurable, repeatable part of the overall manufacturing quality system, reducing scrap, rework, and disputes over color acceptance.
9. Conclusion
Color variation in plastic products is almost never the result of a single isolated defect. It typically emerges from a combination of factors: raw material variability, colorant dispersion and dosing accuracy, processing conditions such as temperature and shear, equipment condition and maintenance, environmental exposure after production, and, frequently overlooked, inconsistencies in how color is actually measured and compared.
Effective control depends on treating color as a measurable engineering parameter rather than a subjective visual judgment. This means establishing documented color standards, using calibrated instruments under consistent measurement conditions, applying standardized color difference formulas with agreed tolerances, and maintaining process discipline across every stage from incoming material inspection to final part measurement. Manufacturers who build this kind of systematic, instrument based approach into their quality process are far better positioned to catch color drift early, reduce scrap and rework, and deliver the consistent product appearance that customers and brand specifications require.
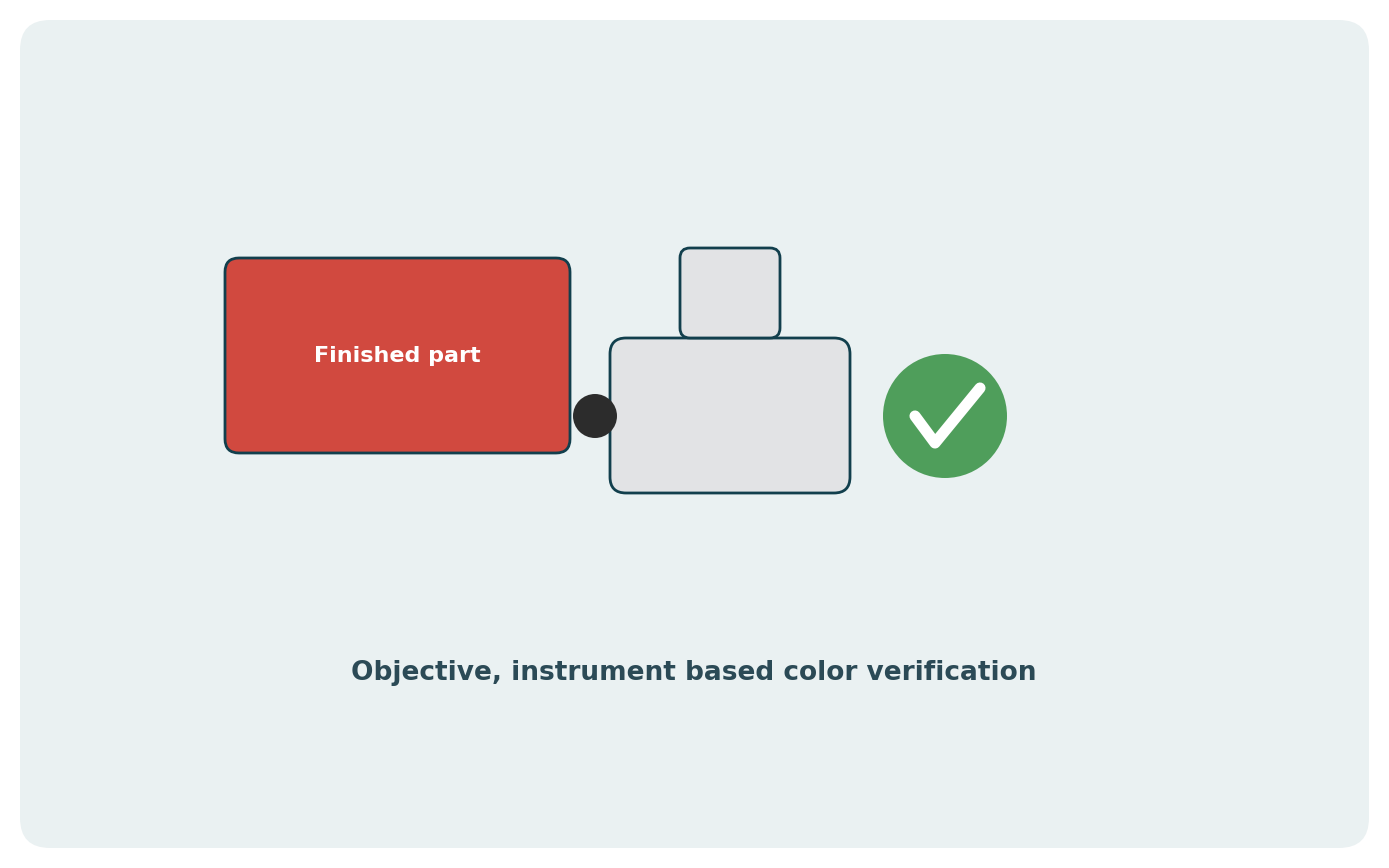
A technician or quality inspector using a handheld colorimeter or spectrophotometer on a finished plastic product in a production or QC environment.